
How to Visual Studio search
Most often as a developer, you want to search for specific keyword in side Visual…
![]()
Most Visual studio users are using VS 2017 or 2019 now. To those who are focusing on developing SSIS ETL packages, SSDT is a must tool to have. So how to get it?
In VS 2019, there is no standalone installer for you to install SSDT.
To install SSDT during Visual Studio installation, select the Data storage and processing workload, and then select SQL Server Data Tools.
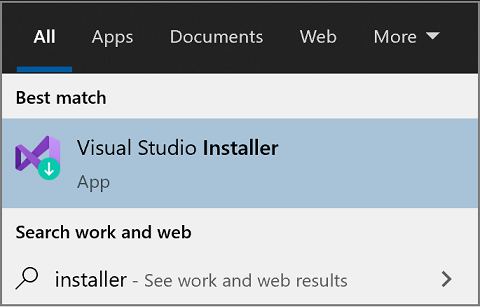
If Visual Studio is already installed, use the Visual Studio Installer to modify the installed workloads to include SSDT.

For Analysis Services, Integration Services, or Reporting Services projects, you can install the appropriate extensions from within Visual Studio 2019 with Extensions > Manage Extensions or from the Marketplace.
To install Analysis Services, Integration Services, and Reporting Services project support, run the SSDT standalone installer.
The installer lists available Visual Studio instances to add SSDT tools. If Visual Studio isn’t already installed, selecting Install a new SQL Server Data Tools instance installs SSDT with a minimal version of Visual Studio, but for the best experience, we recommend using SSDT with the latest version of Visual Studio.

Of course, to those VS 2017 user, you can run installer for all SSIS,SSRS,SSAS.